TL;DR – Wondering how to plan an interior design makeover for your room? Dreaming is easy. Building the room is the hard part. Learn the designer process that turns inspiration into a finished home you actually love. If you’ve ever gotten stuck between “inspo” and install day, this post is your roadmap. This is the real process for turning your mood board into a finished space, without losing your mind, your budget, or your grout color. Includes systems, tools, and the design planner that makes it all work.
Plot Twist: The Designer Who Forgot to Measure (In My Defense, It Was On Sale)
Here’s something they don’t teach you in design school: knowing exactly what you want is not the same as knowing how to get it.
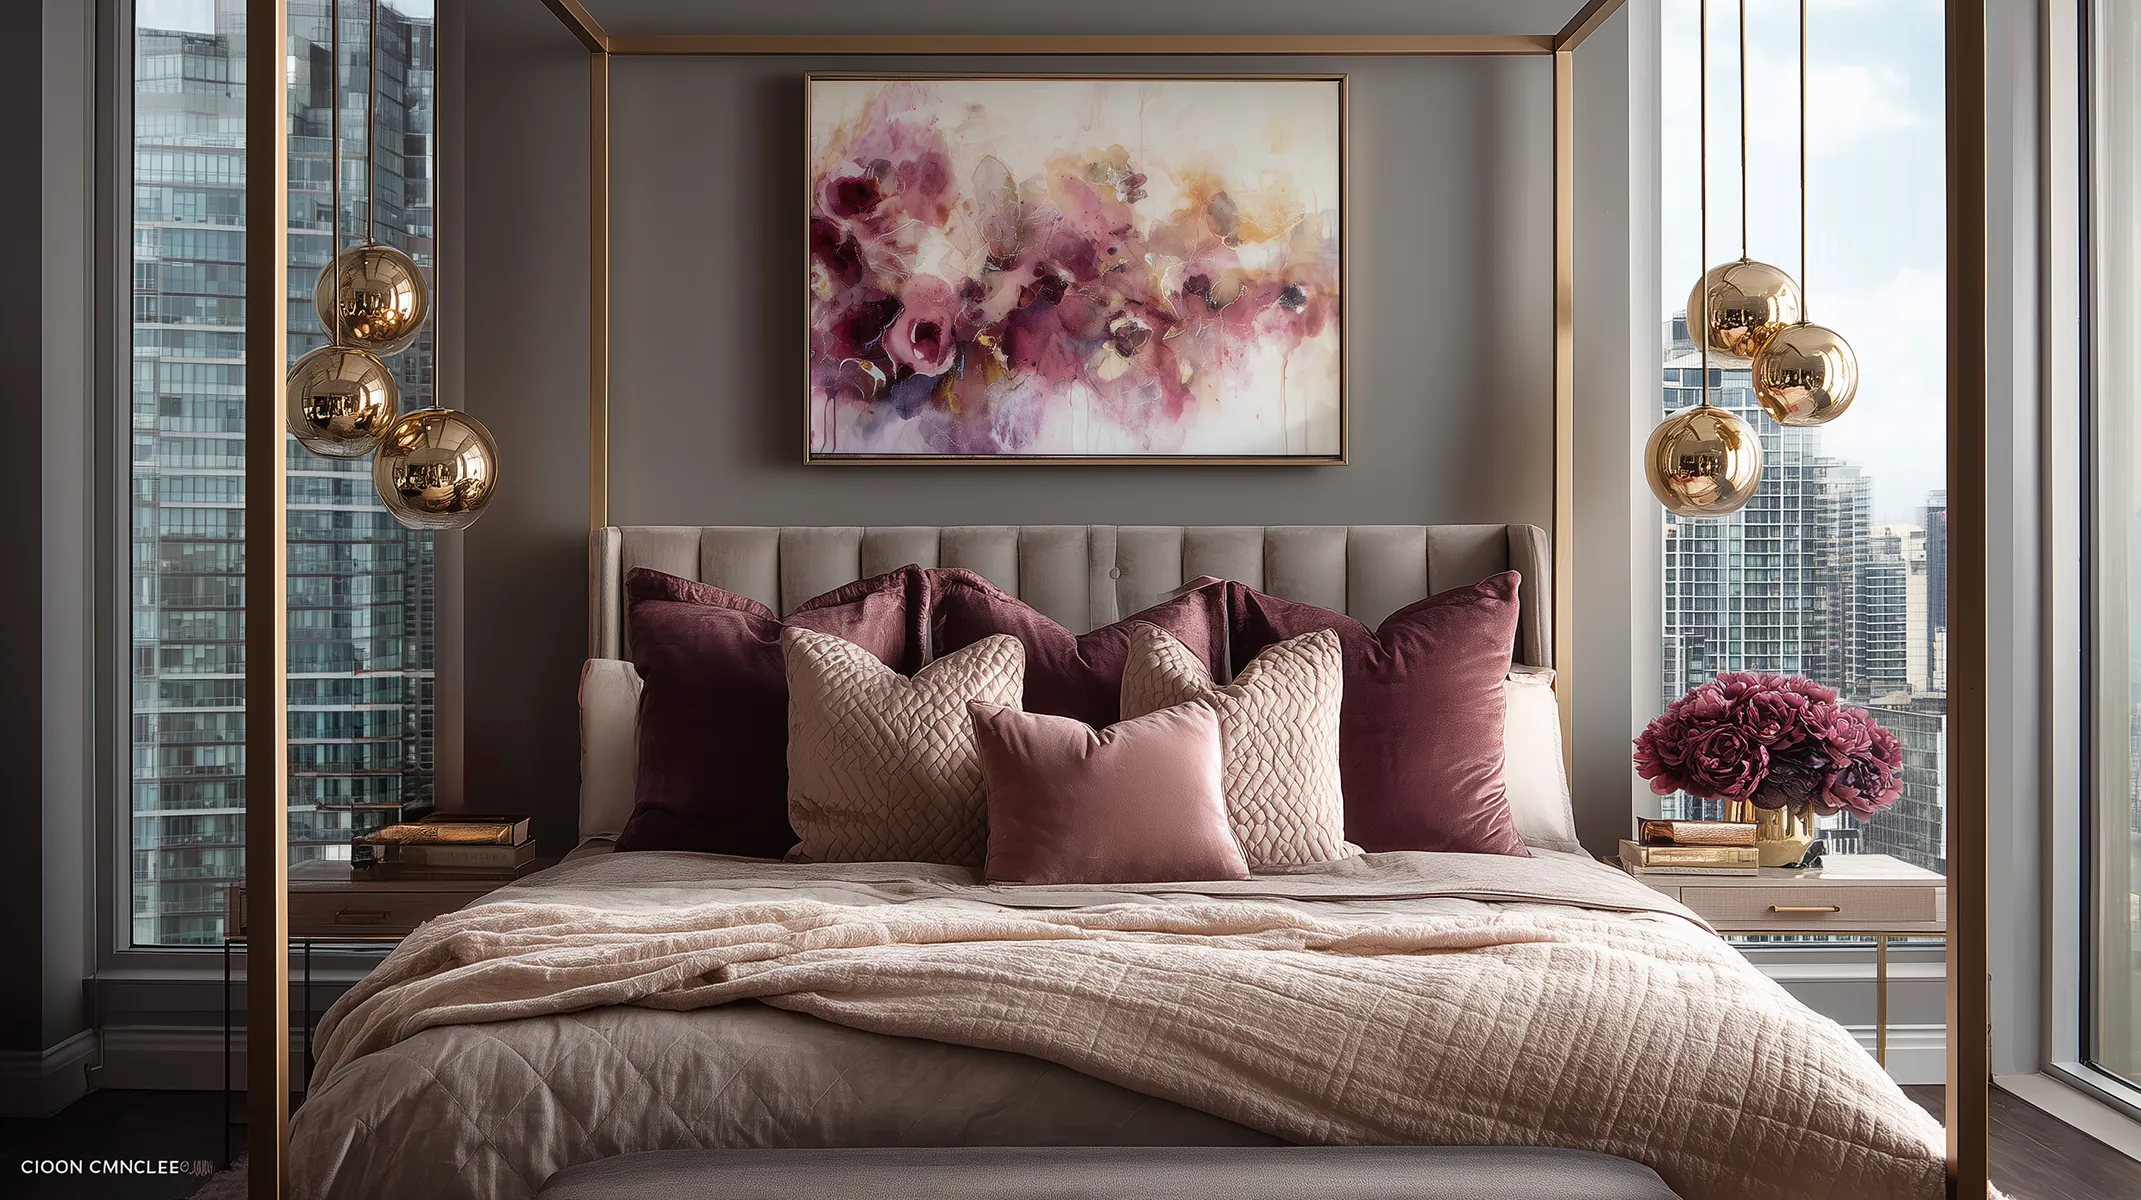
Confession: I had a vision board. Specifically, I had a canopy bed on my vision board. For years. The grown-up version — brushed brass frame, channel-tufted French gray headboard, pendant lights clustered over each nightstand like something out of a boutique hotel.
I knew exactly what I wanted. The problem? My vision and my budget were seriously out of alignment.
Then one afternoon, as I was doom-scrolling for a new pair of heels, THE bed appeared. Flash sale. One left. Timer counting down. Remember, I’m a professional. I have spec’d furniture for entire hotels. I have systems. I have processes. I carry a measuring tape in every handbag.
What did I do? With a confident flourish, I whipped out my credit card and confidently clicked “BUY.” Score. Look at me getting my dream at a discount!
My euphoria was short-lived when, 30 seconds after, I realized I’d just bought a huge canopy bed without measuring my (micro, urban condo) bedroom. Oops.
What happened next is either a cautionary tale or a love story, depending on how you look at it. Probably both.
I held my breath as the guys unpacked my bed and started assembling it. Post-purchase, I’d measured. So I knew that technically it would fit. But would it actually look good?
Truth: It’s not my best work. I mean, it’s tight. The bed fit — barely. The pendant cluster took a local fabricator, a Task Rabbit, then a contractor, a dimming system, a creative wiring workaround, and four months of figuring it out.
But that canopy lived for years on my vision board. And now it’s in my bedroom. And that gap, the one between the vision and the reality, is exactly what this post is about.
The Gap Between Loving It and Living In It
You have 47 Pinterest boards. I’m not judging; I have more (proof here).
(I made one just for sconces. Another one exclusively for hotel bathrooms. It’s fine. We’re fine.)
But here’s the thing nobody tells you when you’re in the pinning phase of a design project: the gap between “I love this” and “I live in this” is enormous. It’s a canyon. And some people get stuck in that canyon for months. Sometimes years. Sometimes, they never get out.
They pin. They screenshot. They rip pages out of magazines. They have an entire camera roll that is essentially a love letter to other people’s homes. And then they look around their own living room and think… why doesn’t it feel like that?

I’ve been a hospitality interior designer for over a decade. I’ve helped design hotels that make people stop in doorways and stare. And I’ve helped over 40,000 students take that same “I love this” feeling and turn it into rooms they actually love to wake up in every morning. So I can tell you — with full confidence and a little tough love — that the problem is almost never your taste. Your taste is great. The problem is that you don’t have a system for translating taste into action.
The Interior Design System Behind the Vision
For the record, I don’t recommend making major design decisions under the pressure of a countdown timer. Let me be clear: a flash sale is not a design strategy. What saved me wasn’t the impulse; it was the years of clarity I’d built around exactly what I wanted and why. The vision was so specific, so locked in, that when the moment arrived, I only had one real question left to answer: Will it fit?
What I do recommend is having a system so solid that when your dream piece appears out of nowhere with a countdown timer and one left in stock, the only thing standing between you and a great decision is a measuring tape.
How to Do a Room Makeover: The 6-Step Designer Process

Step 1: Audit Before You Add
This is the step everyone skips — and it’s the one that saves the most time, money, and regret.
Before you shop, you need to see. Really see. What’s in the room now? Take photos from every angle. Write down what works, what doesn’t, and that one thing you’re weirdly emotionally attached to even though it’s ugly (it’s fine, we all have one).
This isn’t about shame. It’s about clarity. Designers don’t start with shopping carts. They start with audits. You should too.
Step 2: Define Your Interior Design Aesthetic (For Real This Time)
You need a point of view. Not a vague “I like cozy things” feeling — an actual style direction. Are you Luxe? Cottagecore? Coastal? Boho? Modern? Without a clear lane, every beautiful thing you see becomes a contender — and that’s how you end up with a living room that looks like it can’t make up its mind.
Look at everything you’ve saved. What keeps showing up? That pattern is your aesthetic trying to tell you something. Listen to it.
Step 3: Choose Your Interior Materials and Finishes — And Track Every Single One
This is the part where dreamers become doers. Every single choice: paint, tile, cabinet hardware, sconces, grout (yes, grout) is a selection. And selections need a home. Not a screenshot. Not a random Post-it.
You need a tracker. Product, vendor, dimensions, price, ETA, status.
(Need one? Here’s what I use to organize my projects: grab it here and thank me later).
One doc. One brain. Yours. Organized.
Pros do this for a reason: it keeps the chaos at bay and catches the mistakes before they cost you thousands and your will to live.

Step 4: Set a Budget That’s Actually Real
You’re not bad at budgeting. You just didn’t account for the hidden villains: delivery fees, labor, $9 tile samples that turn into $9,000 decisions.
Most people set a number, start shopping, and forget about all the “extra” costs: shipping, tax, install labor, permits, delivery surcharges, impulse upgrades, and the $300 light fixture you didn’t plan for but suddenly have to have.
The solution? A budget that breathes. A spreadsheet that tracks actual spending against your plan. A 15% cushion for the chaos.
This isn’t a wish list. It’s a financial survival tool. Use it.
Step 5: Create a Timeline (With Buffer Built In)
Time gets weird during a renovation. That “in stock” sconce? Suddenly backordered. That countertop you thought was getting cut next week? The fabricator ghosted.
A solid timeline is your renovation reality check. It splits your project into phases, bakes in buffer time, and helps you see which items need to be ordered before it’s too late. Weekly check-ins keep surprises from becoming spirals.
It’s not about being perfectly on time. It’s about knowing what’s coming next — and being ready for it.
Step 6: Make the Decisions — And Commit
You’ve had paint samples taped to your wall for nine months. You’ve sent 47 light fixture options to the group chat. And you’re frozen.
This is where smart people stall out — not because they don’t know what they want, but because they’re afraid to get it wrong.
Here’s the fix: if your direction, budget, and timing are clear, your decisions don’t have to be perfect — they just have to move the project forward. No more stalling. No more taping 12 swatches to the wall and calling it progress.
Pick. Order. Adjust if needed. Your throw pillows are not permanent life choices.
The System Is the Secret – And Here it Is
The difference between the people who actually finish their spaces and the ones still scrolling Pinterest six months later? It’s not talent. It’s not budget. It’s not even taste. It’s a system.
A way to track every swatch, order, decision, and dollar — so you’re not juggling 47 tabs, two group chats, a notes app, and a meltdown.
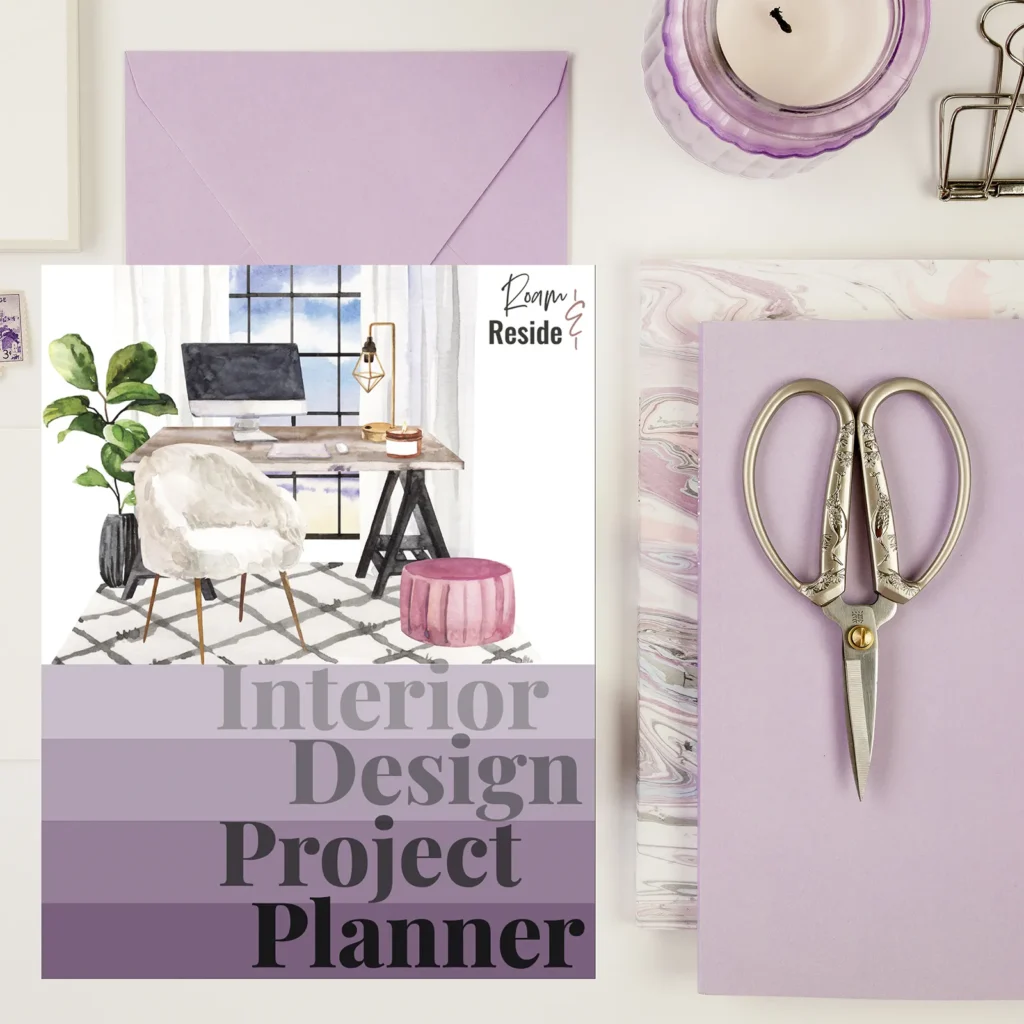
That’s exactly why I created the Interior Design Project Planner. The same tools I use on real client projects — from mood boards to budgets to timelines — all in one place.
Because loving the vibe is one thing. Living in it? That’s the goal.
Your Interior Design Project Planner
This 50-page printable system takes everything you just read and gives it a home. You just read the 6 steps you need to take. Now here’s your system:
- Design audit templates so you know what you’re working with before you spend a dollar.
- Mood board pages to lock in your direction.
- Product and material trackers for every tile, finish, and faucet.
- Budget worksheets that show you what you actually have left to spend.
- Project timelines and task checklists so nothing falls through the cracks.
This is the same system I use on real hospitality projects — simplified for your home. Because it’s one thing to pin it. It’s another to pull it off.
There Are Two Ways to Redecorate a Room:
Most people think the hardest part of a decorating project is choosing the right sofa or the perfect paint color.
It isn’t.
The hardest part is managing hundreds of tiny decisions without a system. Every measurement, finish, budget, order, and deadline lives somewhere, and if you’re like most people, “somewhere” quickly becomes chaotic (random folders, piles of sticky notes, etc.).
At some point, decorating stops feeling creative and starts feeling like project management.
So you have two options.
Option 1: Hope It All Comes Together
Look, you can absolutely keep doing it the way you’ve been doing it.
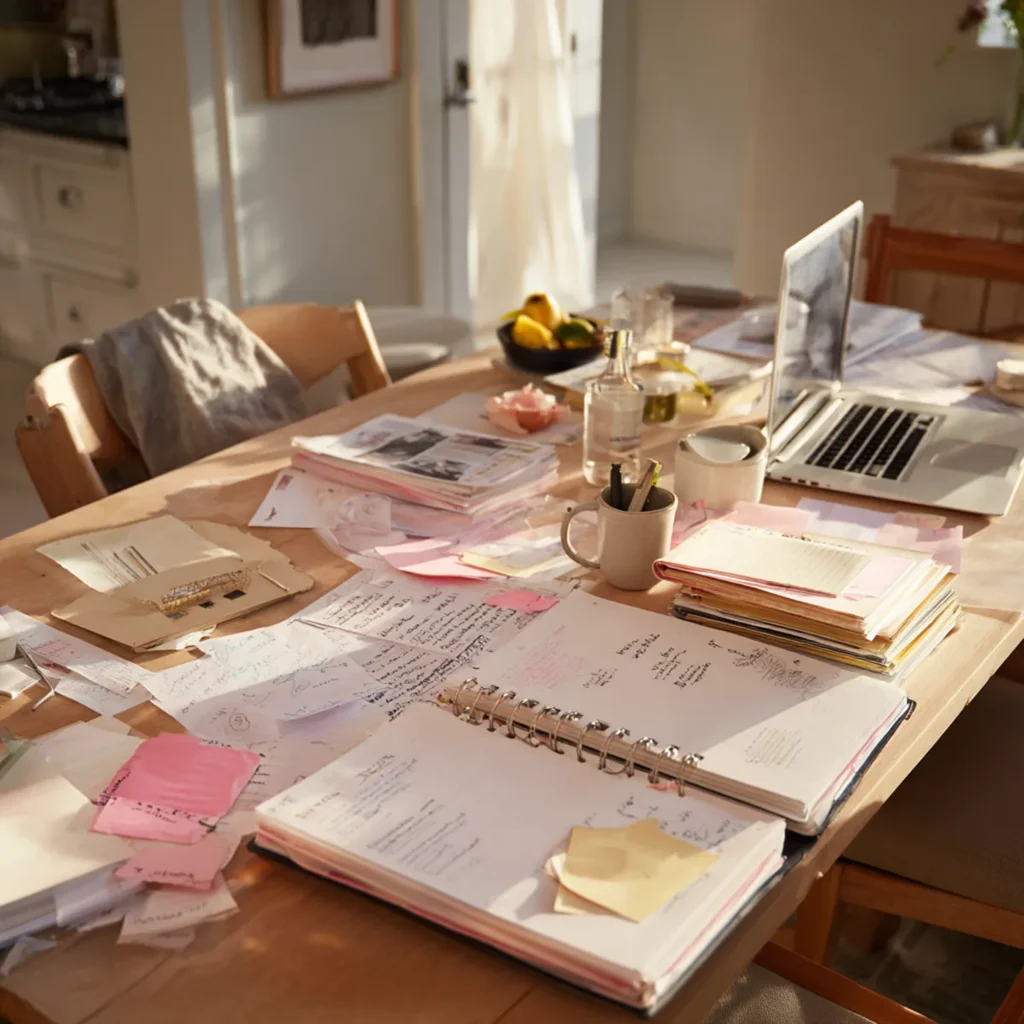
You collect Pinterest boards. Screenshot paint colors. Save furniture you love. Open seventeen browser tabs. Text your contractor measurements you’ll never find again. Buy the rug before you’ve picked the sofa.
And you save it all in the folder on your desktop called “inspo final FINAL v3.”
Eventually, the room comes together. Sort of.
It works… until it doesn’t. A few expensive mistakes, a handful of second guesses, and that nagging feeling that something still isn’t quite right.
Sure, it’s a system. Just not one I’d recommend.
Option 2: Design It Like a Designer
Or…You start with a plan.
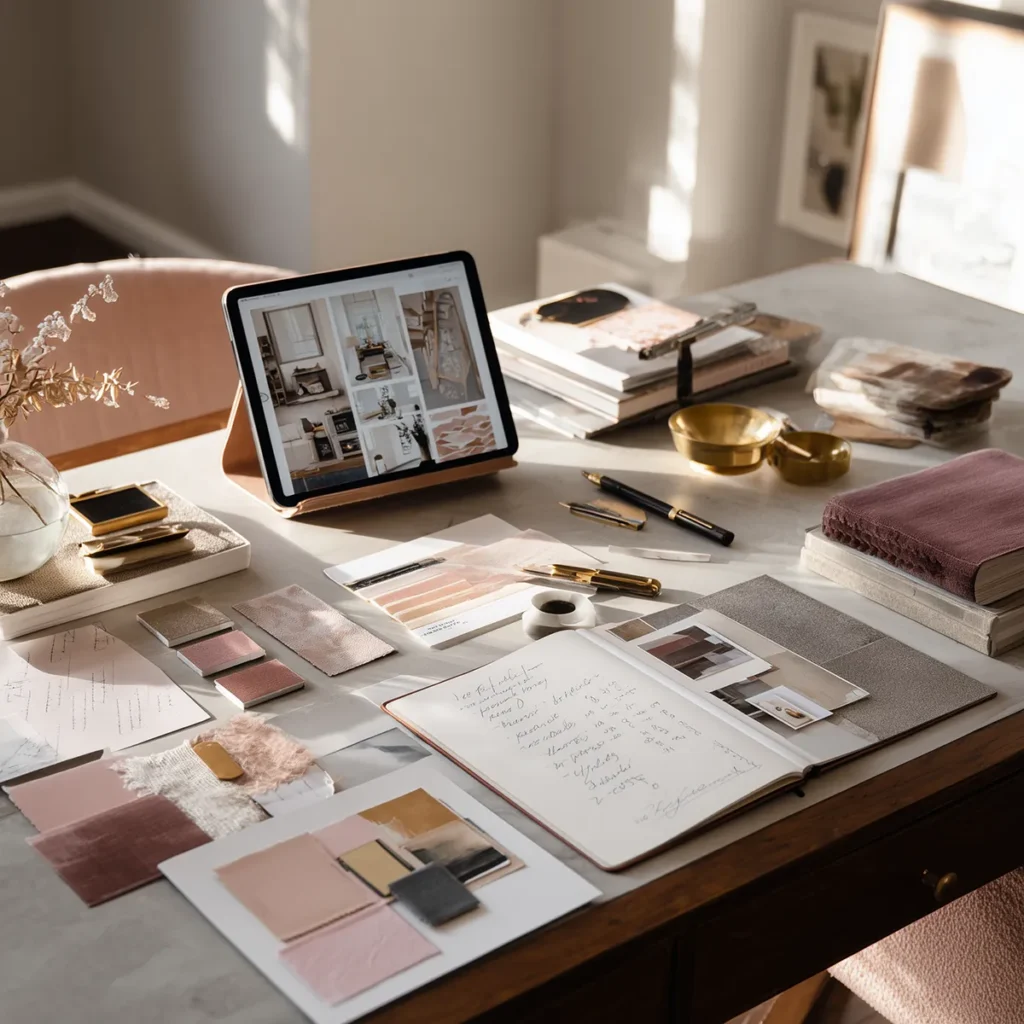
Every measurement, finish, paint color, furniture selection, budget, and inspiration image has a home. Decisions build on each other instead of competing with each other. Shopping gets easier because you’ve already done the thinking.
Instead of hoping the room comes together, you know it will.
And one day you walk into the finished space and realize something kind of amazing:
It looks exactly like the room you imagined.
Not because you got lucky.
Because you had a system.
And you can get it here. Just one click away.
The Room Makeover Checklist
-
1. Audit your room — photograph every angle and decide what stays and what goes.
-
2. Define your style — choose one clear design direction before you shop.
-
3. Track every selection — keep products, dimensions, prices, and lead times in one place.
-
4. Build a realistic budget — include materials, labor, shipping, tax, and a 10–15% contingency.
-
5. Create a project timeline — order long-lead items first and build in buffer time.
-
6. Finalize your decisions — confirm every finish, fixture, and furniture selection before ordering.
-
7. Review progress weekly — spend 15 minutes catching small issues before they become expensive ones.
FAQs: Planning a Room Makeover
Q: What’s the first step to starting an interior design project?
A: Not shopping. It’s auditing. Before you buy a single thing, you need to know what you already have — what’s working, what’s not, and what’s just been hanging around because you forgot to donate it. That’s how professionals start: with clarity.
Q: How do I define my interior design style if I like a little bit of everything?
A: You don’t need a label. You need a lens. Look at what you’ve saved — find the common threads in color, texture, mood, material. That’s your direction. (Hint: if your mood board looks like 12 different countries and a time machine, it’s time to edit.)

Q: How do I keep track of all my design selections?
A: You need a selections tracker — one place for product links, dimensions, lead times, costs, and order status. Otherwise, you’re one missing sconce away from a full breakdown in a hardware aisle. (Yes, I made one for you. It’s right here).
Q: How do I make a real budget for a home renovation?
A: Real means full-picture: materials, labor, shipping, install fees, taxes, and a 10–15% contingency. Anything less is fantasy budgeting, and those always end in tears and surprise invoices.
Q: How long does an interior design project actually take?
A: Longer than you think. Between lead times, contractor delays, and wrong-color grout, a realistic project timeline includes buffer time and weekly check-ins. It’s not just about start and finish — it’s about staying sane in the middle.
Q: How do I stop getting stuck making interior design decisions?
A: Decision fatigue is real, and design has a lot of decisions. The fix isn’t more inspiration — it’s a tighter brief. When you know your aesthetic, your budget ceiling, and your non-negotiables, most decisions make themselves. The ones that don’t? Pick the thing that fits all three and move on. You can swap the pillow later. You cannot swap the tile.
Q: Do I need an interior design planner?
A: Only if you want to finish your project without losing your mind. A good planner tracks every finish selection, vendor contact, lead time, budget line, and installation date in one place — so when your contractor texts you at 7am asking which grout you ordered, you actually know. Think of it as a design assistant you don’t have to pay hourly. I built one specifically for this. You can grab it here.
Your Room Makeover Starts Here — Now It’s Your Turn
Quick check-in: You’ve done the pinning. You’ve saved the screenshots. You’ve imagined the space a hundred times. Now it’s time to actually build it.
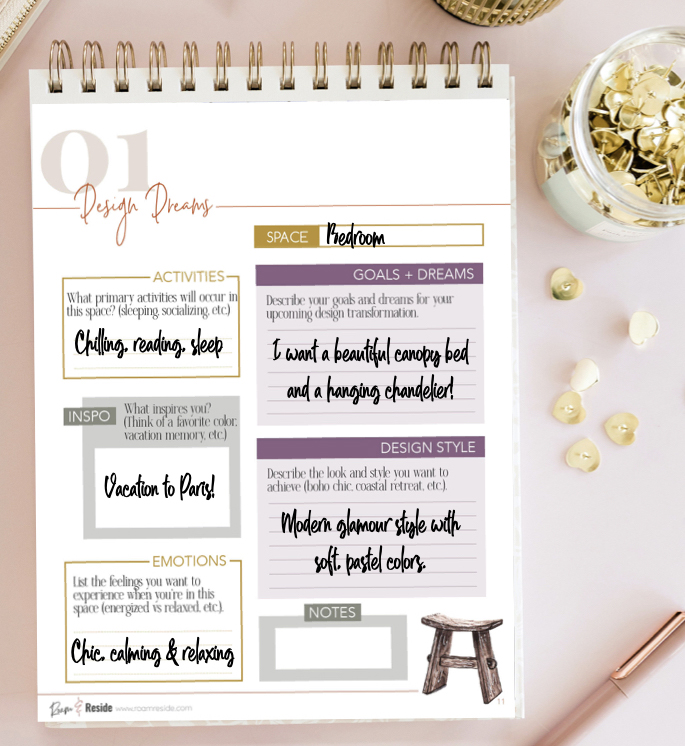
So what’s standing between you and your dream space? It’s not money. It’s not talent. It’s not having the right eye or the right connections or the right contractor on speed dial (although, that is a plus).
The people who finish their spaces — who actually live in the room they’ve been imagining — aren’t luckier or more creative than you. They just stopped pinning and started building. They had a direction, a system, and enough clarity that every decision moved them forward instead of sideways.
I know this because I’ve lived it. That canopy bed — the one on my vision board for years — is in my bedroom right now. Woven aubergine cords. Bronze-dipped globe lights. A cozy, tight fit in a tiny urban condo that somehow looks exactly like I always imagined it would. It happened because I knew what I wanted and I had a process for getting there. Even when it got complicated. Even when I forgot to measure.
Your space deserves the same, and it’s waiting for you. So get your system, and get started on bringing your dream home to life!
Keep Going — You’re Just Getting Started:
Excited but overwhelmed? Read this next: The Top 10 Interior Decorating Mistakes People Make at the Start of a Project — because the biggest mistakes happen before you buy a single thing.
More Bedroom Inspo and Decorating Ideas
If you’re stuck trying to decide how to decorate your bedroom, check out my favorite headboard move to instantly add a sense of luxury to your bedroom. It’s a good move if you don’t have the space (or desire) for a canopy bed. And here are more smart stylish moves to maximize your space and some ideas to make your bedroom feel bigger than it is.
You’re Gonna Wanna See This…
Ever walk into a room and think: “Nothing is technically wrong… so why don’t I love it?”
That’s exactly the question behind my first Room Roast, where I break down the subtle design decisions that made a traditional bedroom feel stuck in another decade—and the makeover that transformed it.
→ Read the Room Roast: A Tuscan Tragedy.
And here’s another Room Roast: → For the Frill of it All: A Cautionary Tale of Ruffles and Restraint.
Want to Choose a Decorating Style for Your Home?
Check out this post to help you figure out what look is best for your home.
→ How to figure out your interior design style
And if you’re curious to hear my POV on why aesthetics matter, check out my story:
→ How a drink with a stranger changed my perspective on beauty.
